Last January, my neighbor Mike knocked on my door looking frustrated. He had bought six different smart devices on Black Friday. A smart thermostat sat unopened in his garage. Three smart bulbs remained in their boxes. Two smart plugs confused him completely. He spent 400 dollars and had nothing working together.
His problem was not unique. Most beginners buy devices impulsively without understanding how smart homes actually function. They waste money on incompatible products. They struggle with setup. They give up thinking smart homes are too complicated.
Table of Contents
What Smart Homes Actually Are
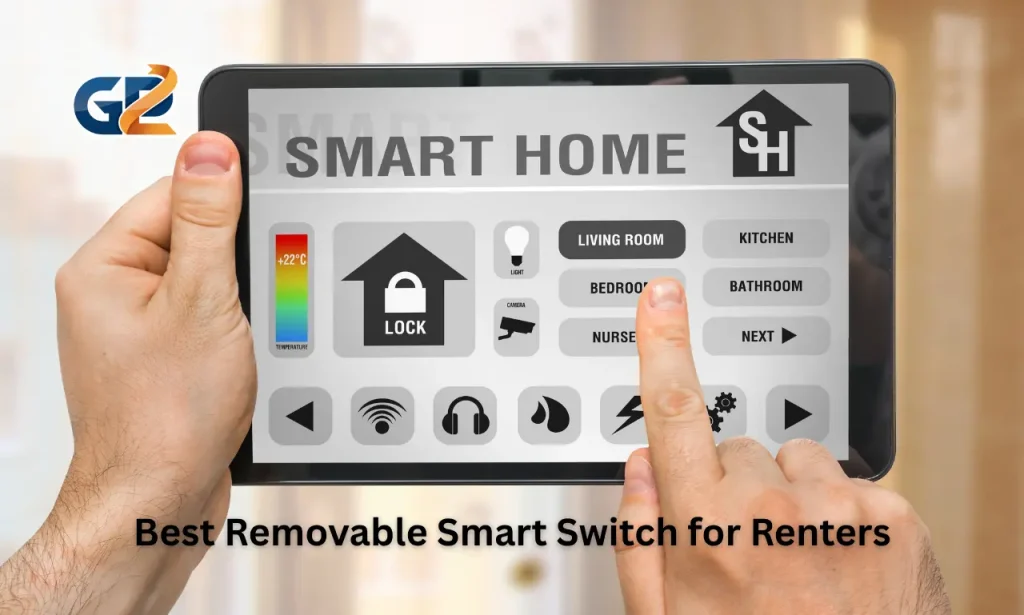
Smart homes use internet connected devices to automate tasks and provide remote control over home functions. These devices communicate with each other through wireless protocols like WiFi, Zigbee, ZWave, or Thread. You control everything through smartphone apps or voice commands.
The key difference between smart devices and true automation involves creating rules and routines that run automatically. Simply having a smart light you control manually is not automation. Programming that light to turn on when you arrive home at 6 PM is automation.
Every smart home needs three essential elements working together. First, you need smart devices like bulbs, thermostats, or sensors that connect to your network. Second, you need a central hub or platform that connects these devices. Third, you need strong reliable internet connectivity throughout your home.
Step One: Define Your Specific Goals Before Buying Anything
The biggest mistake beginners make is purchasing devices without clear objectives. They see smart gadgets on sale and buy them hoping to figure out uses later. This backwards approach guarantees wasted money.
Start by identifying specific problems in your daily life that automation could solve. Do you constantly forget to lock doors? Do you want lights that automatically adjust based on time of day? Do you waste energy because you forget to adjust the thermostat when leaving home?
Write down your top three frustrations or time consuming tasks. These become your priority automation targets. Everything else can wait until after you successfully automate these core functions.
Consider your realistic budget for this project. Basic starter setups covering a hub, smart bulbs, and smart plugs cost 200 to 500 dollars. Mid range systems with security cameras, door locks, and climate control run 1000 to 2500 dollars. Whole home automation with integrated lighting and security exceeds 5000 dollars.
Step Two: Choose Your Smart Home Ecosystem
Your ecosystem choice affects every device you buy moving forward. The platform determines which products work together and how you control them. Making the wrong choice here creates headaches for years.
Three major ecosystems dominate the market in 2025. Amazon Alexa offers broad device compatibility and excellent voice control at affordable prices. Google Home works seamlessly with Android devices and provides accurate voice assistance. Apple HomeKit prioritizes security and privacy with smooth operation for Apple users.
Amazon Alexa supports the widest range of third party devices making it the most flexible choice for beginners. The Echo speakers start around 30 dollars providing affordable entry points. The Alexa app runs on both Android and iPhone devices. Over 140,000 smart home devices work with Alexa as of 2025.
Step Three: Ensure Your WiFi Can Handle Smart Devices
Smart devices need strong, consistent network connectivity to function reliably. Weak WiFi signals cause devices to drop offline, respond slowly, or fail completely. Before installing any smart devices, you must test network coverage and fix dead zones.
Walk through every room where you plan smart devices and check WiFi signal strength on your phone. Open WiFi settings and look for signal bars. Anything below three bars indicates problems. Download free apps like WiFi Analyzer on Android or Airport Utility on iPhone that show signal strength in decibels for more accurate measurements.
Most homes need WiFi coverage improvements before adding multiple smart devices. Dead zones in bedrooms, garages, or basements prevent devices from staying connected. The solution involves adding mesh WiFi systems or range extenders.
Mesh WiFi systems like Eero, Google Nest WiFi, or TP Link Deco provide whole home coverage through multiple access points. These systems cost 200 to 400 dollars but eliminate connectivity headaches. The investment pays off through reliable device performance. Three node mesh systems typically cover 4500 to 6000 square feet depending on home construction.
Step Four: Start With Your Central Hub
Your hub connects and controls all smart devices. This central control point makes everything work together smoothly. Without a proper hub, devices operate independently without coordination.
Amazon Echo Dot represents the most affordable hub option at around 30 to 50 dollars. Place it centrally in your main living area where voice commands work from multiple rooms. The Echo connects to WiFi and communicates with compatible smart devices through the Alexa app.
Google Nest Mini costs similarly and provides comparable functionality for Google ecosystem users. The Nest Hub adds a screen for visual controls and video streaming starting around 100 dollars. The screen proves useful for viewing security camera feeds or following recipe instructions in kitchens.
Step Five: Add Smart Lighting First
Smart lighting provides the best starting point for beginners. Lights deliver immediate visible results. Setup is straightforward. The cost remains affordable. Success with lighting builds confidence for more complex devices.
Start with two to three smart bulbs in your most used rooms. Living rooms, bedrooms, and kitchens make ideal first targets. Smart bulbs from Philips Hue, LIFX, or Wyze cost 10 to 30 dollars each depending on features. White only bulbs cost less than color changing varieties.
Screw smart bulbs into existing lamp sockets exactly like regular bulbs. Turn on the light switch. Open your hub app and follow prompts to add new devices. The app discovers nearby bulbs automatically in most cases. Assign each bulb a clear name like Kitchen Ceiling or Bedroom Lamp.
Step Six: Add Smart Security Devices
After mastering lighting, security devices provide the next logical step. Security cameras, video doorbells, and smart locks deliver peace of mind while teaching more advanced smart home concepts.
Video doorbells like Ring or Nest Hello cost 100 to 200 dollars. Installation takes 10 to 30 minutes depending on whether you have existing doorbell wiring. Battery powered options eliminate wiring entirely for easiest setup. Hardwired versions provide continuous power avoiding battery replacement.
Mount the doorbell following included instructions. Download the manufacturer app and connect the doorbell to WiFi. Test video streaming and two way audio. Set up motion detection zones to prevent constant false alerts from passing cars or neighbors walking by.
Step Seven: Optimize Temperature Control
Smart thermostats like Google Nest or Ecobee cost 100 to 250 dollars but save money through optimized heating and cooling. These devices learn your schedule and adjust temperatures automatically for comfort and efficiency.
Installation requires replacing your existing thermostat. Turn off power to your HVAC system at the breaker box first. Remove the old thermostat and photograph the wire connections. Connect wires to your new smart thermostat following color coded labels. Restore power and follow app setup instructions.
Smart thermostats can reduce heating and cooling costs by 10 to 23 percent according to independent studies. The devices pay for themselves within one to two years through energy savings. Program temperature schedules matching when you are home versus away.
Step Eight: Create Useful Automations and Routines
Automations transform disconnected smart devices into a coordinated system. This step separates true smart homes from collections of individually controlled gadgets.
Create a morning routine that gradually brightens bedroom lights 30 minutes before your alarm. Program the coffee maker to start brewing automatically. Set the thermostat to reach comfortable temperature by the time you wake up. Play your favorite news podcast through speakers.
Build an away mode routine activated when everyone leaves. Lock all smart locks automatically. Adjust the thermostat to energy saving temperature. Turn off unnecessary lights. Arm security cameras for motion detection alerts. Set a random light pattern to simulate occupancy for security.
FAQs
Which smart home ecosystem works best for beginners
Amazon Alexa offers the best balance of affordability, device compatibility, and ease of use for beginners. The wide device support means you will find compatible options for nearly any product category.
Do smart devices work without internet
Most smart devices require internet for initial setup and remote control. Some devices continue basic functions locally without internet but lose remote access and cloud features. Matter compatible devices increasingly support local control for basic functions.
How do I keep my smart home secure from hackers
Use strong unique passwords for each account. Enable two factor authentication wherever offered. Keep devices updated with latest firmware. Create separate guest networks for smart devices isolating them from computers.
Can I mix different smart home brands together
Yes, focusing on devices supporting Matter, the new universal standard making cross brand compatibility easier. Devices supporting Zigbee or ZWave also work together through compatible hubs.
Conclusion
Stop postponing your smart home journey because the process seems overwhelming. Pick one room to automate this week. Buy a smart hub and two smart bulbs. Spend one evening setting everything up following manufacturer instructions.
Success with that first room builds confidence and understanding. You will learn how apps work, how voice control functions, and how automations improve daily life. That hands on experience makes expanding to additional rooms feel natural rather than intimidating.